To open the screen for Adding/Editing or Deleting Users from Atrium 10, you need to click Maintain Users under the Administration menu item.
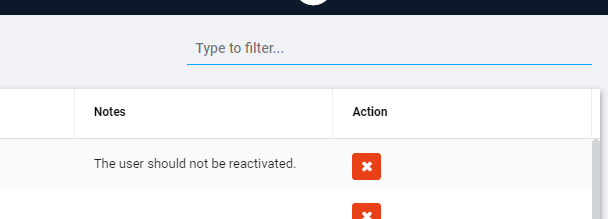
You may locate any user that is currently in the system by using the filter in the upper right corner. You can filter by first name, last name, user type, email address or notes.

Once you have located the user you want to edit or delete, you double click on that line to edit or click the red x icon to delete. A user's login can be deleted at any time.
Creating a new user login
From the Maintain Users screen above, to create a new user, you click the + icon on the lower right (as shown below).

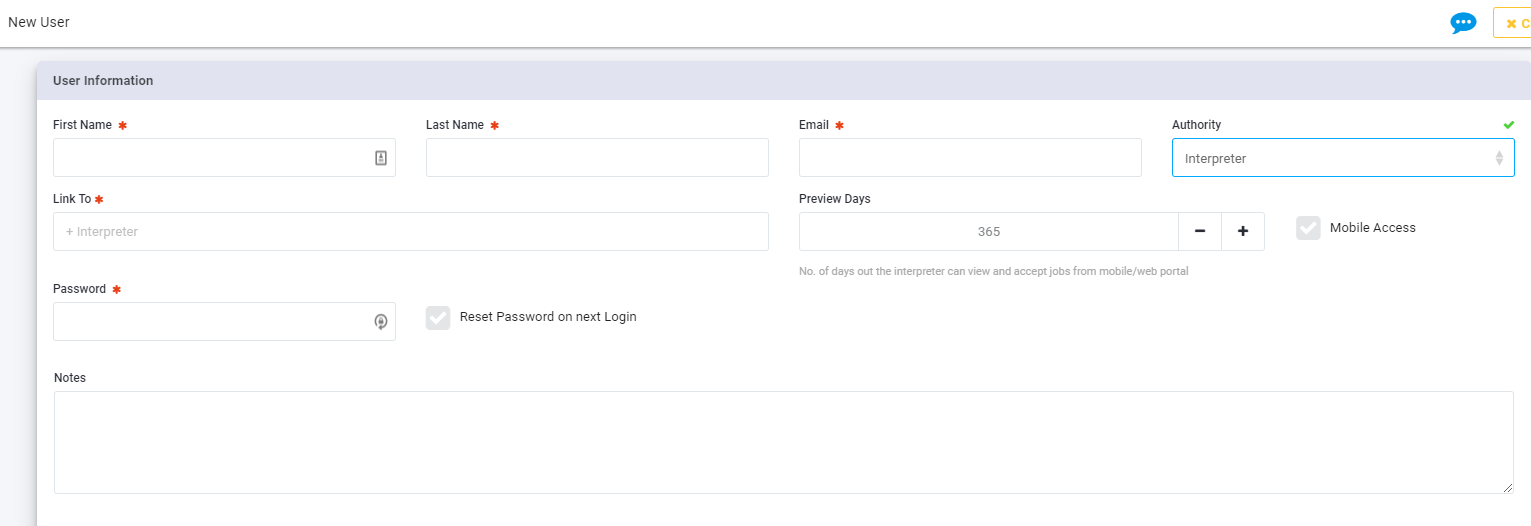
You will then see the New User screen.

Fill in the First Name, Last Name and Email fields. The Authority field will depend on what role this user is to have. When you select an Authority, it will change the fields you have to fill in for that role.
Administrator/Scheduler
When you choose Admin from the Authority drop down list, you will get some new fields: Is Scheduler Checkbox, Permissions Like drop down, Can edit scheduler notes checkbox, Dashboard Filters checkbox and textbox and, after you select a user from which to copy menu rights for an Admin, the Menu Items Access list box.
You must, of course, fill in the items with the red asterisk. Remember that there can be only one role for an email address. If you want to create more than one role for a user, then they will have to have a separate email address for logging in.
If you choose to modify the menu for a specific user, make sure that the menu header item is Visible and Enabled and do the same for items under that menu header. The options to make visible or enabled (or read only in some cases) is shown when you over the cursor over an item.

A Scheduler is a subset of the rights of an Administrator which restricts the user from seeing or editing 'Actuals'. The typical menu configuration only allows the Scheduler to see the menu items necessary to create a job and assign an interpreter to it. This is done be turning menu items on and off. So, if you want this Administrator to have more authority, then you may choose this box as unchecked.
To simplify setting the menu items for an Administrator, you can choose another user from Permissions Like and that will be the template used for this user in setting menu items that will be available. This is usually the best way to set the menus for a user, but if you need more granularity, you can use the controls on the right to set them. Just choose a menu item and click the check boxes below. This will turn the item on or off.
'Maintain Menu Access' is a checkbox that must mist be cautiously given to the new admins because this permission will allow the admin to create new users, change their own permissions or modify others. Note that, anyone with the permission to Maintain menu access will automatically be enabled for MFA as a added security.
The remaining items that can be configured for an Administrator are the Dashboard Filters. This feature may be used when you have multiple schedulers who work with different customers or different languages. The ‘only display jobs entered by this user’ checkbox is self-explanatory. The languages for dashboard filter text box can be populated by typing the names of the languages for the jobs which will display on this users Dashboard. These are type-ahead fields and will suggest the languages you may want. The two rules are cumulative.
When you have finished with these steps, click Save.
Interpreter

You can always add an Interpreter user from the Administration/Maintain Users screen. If you select Interpreter, you will see Link To, Preview Days and Mobile Access controls. Preview days determine how far in the future an interpreter can see available jobs on the portal and mobile app. That means, of course, that you have configure Maintain Company Settings to allow interpreters to see any available jobs. Clicking Mobile Access will copy their current login and password to be used for the mobile app as well.
Interpreter logins are related to the record in the Interpreter database, so you must choose the interpreter from the Link To drop down box. If there is not a record for this interpreter in that database, do not try to create a user ID for them. Go to Databases/Interpreters and add them. Details on how to do that are in another section. The Preview Days control is used to set how far in advance jobs may be made available to this interpreter in their Interpreter Portal. You may use this to reward interpreters for reliable performance. The Mobile Access checkbox should be marked if you want this Interpreter to be able to use the Interpreter Mobile App (instructions on using the app are in the Atrium Training Interpreters document.
Once you have completed all the fields for this new user, click Save.
Client
If you select Client as the Authority, then decide whether or not you want this client to be able to view invoices for his company or just be a scheduler. Click the "Can not view invoices" box appropriately. Next, you need to select the user's company in the Link To field. As the Interpreters are linked to records in the Interpreter database, Clients are linked to records in the Client database. Thus, you are not able to add Client Access for a user their company is not in the Client database. If it is not, you will need to add them. This is covered in another section of this document.
You can add more than one company in the Link To field. Bear in mind, though, if the company is a BillTo for other companies, then this client will have access to those other companies as well. It does not matter if the companies you add happen to share a BillTo, your client will still only see the companies you have linked him to, unless you have linked him specifically to the BillTo company.
This means that you can have a client with access to a subset of the companies for a BillTo. This can be convenient.

If you have a large client with many users, it is convenient to allow them to add/edit/delete users. To do this, select the Can Maintain Users checkbox. This will give this user the right manager users for any customer you have put in the Link To field.
Once you select the client in the Link To drop down box, you may click Save.
For all users:
Unless you have a good reason not, you should always click the 'Reset Password on next Login' checkbox. Since all passwords are stored as a 'Hash' no one can read them. This way, if you force the user to create a new password, it will be completely confidential. The user will be the only one who knows it.
Finally there is a notes field available for all user logins for you to keep whatever information you would like about this user login.
