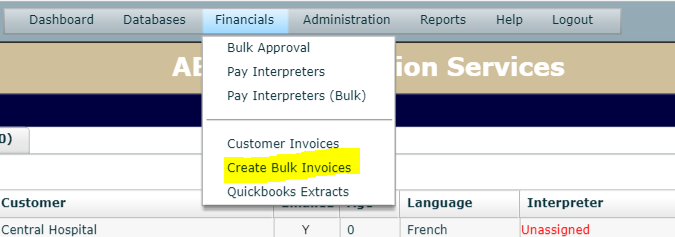
Starting with version 8.1, you will now be able to invoice multiple customers with a single click. To do so, you will need to go to Financials>Create Bulk Invoices on the main menu. If this item does not show on your menu, you will need to add it. This article should help you, if you do not know how to do that.

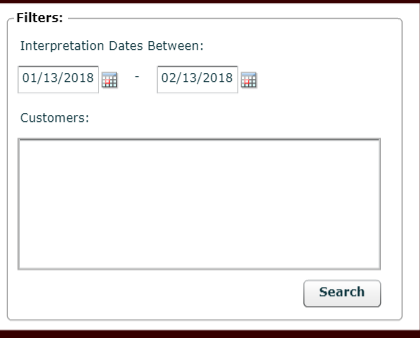
After you have made this selection, you will see the screen for bulk invoicing. On the left side at the top will be the widget for selecting jobs/activities to invoice.

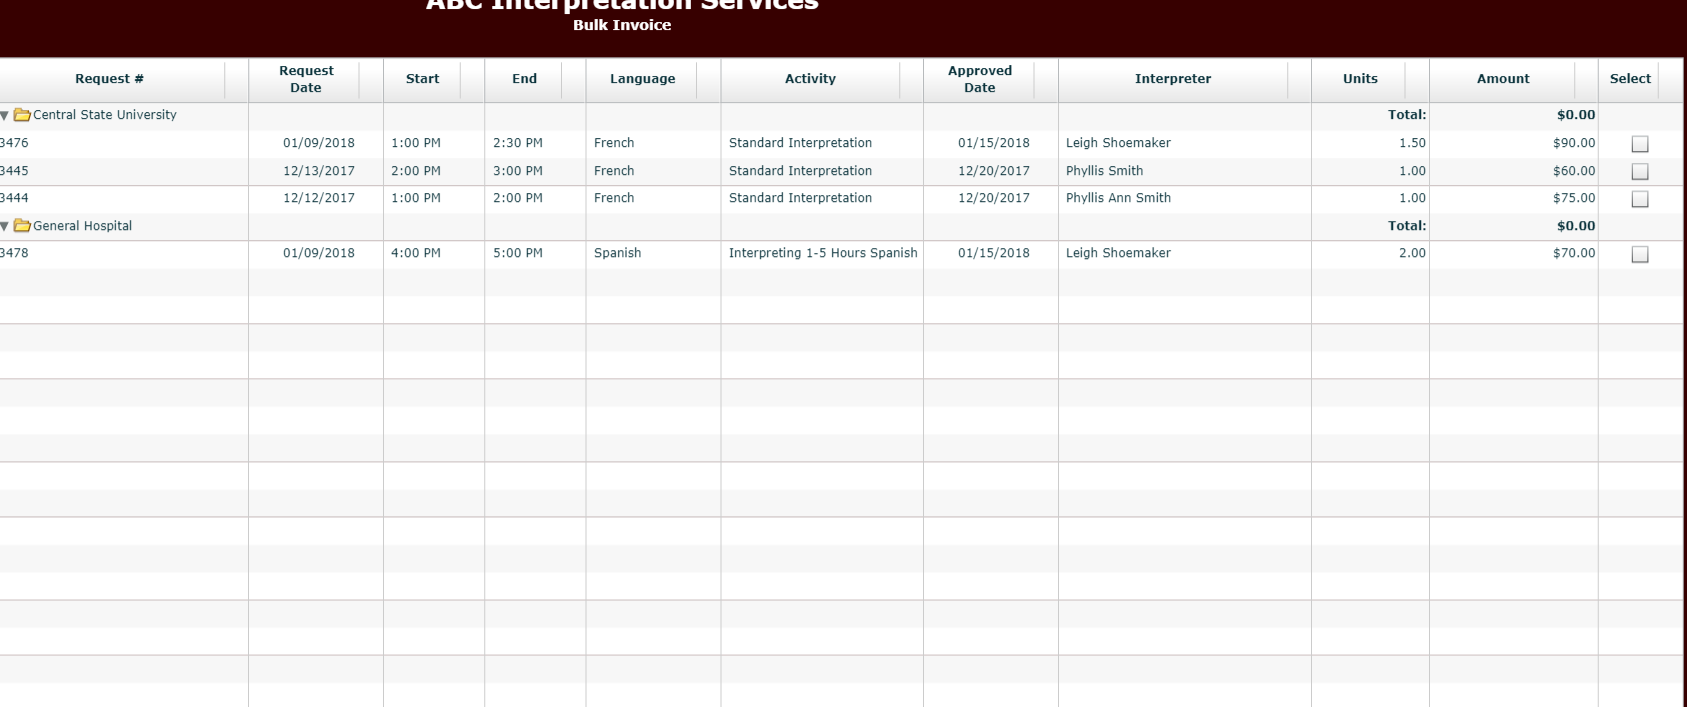
You may filter jobs by the date range of the date of service of the job. You may also filter by customer over that date range, if you like. One thing to keep in mind, is that only jobs within this date range will show. It will not show jobs that should have been invoiced earlier, but had not yet been approved. So, you might want to set the beginning of the date range back to an earlier time to catch these. You may also choose to enter a single customer or list of customers to use for filtering. When you have made you selections, click the 'Search' button. The activities that are available to invoice will then show on the right side.

On the right side, you select the jobs/activities you want to invoice. As you select items, the total by customer will be updated. You can also use the Select/Deselect All button on the bottom.
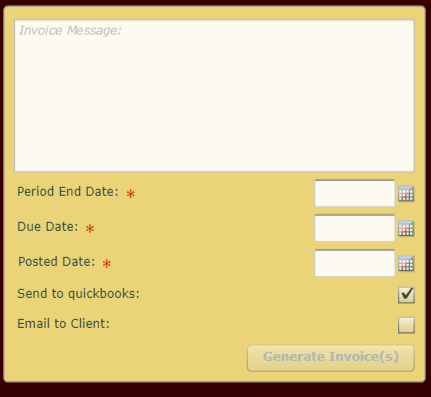
Once you have selected the items to invoice, you need to complete the information on the left. Minimum required information is marked with a red asterisk.

The message in the free form field will appear on each invoice. The dates are required and are the same dates you need to do individual invoicing now. Please note the 'Email to Client' check box. This will send the invoice as an attachment to an email which will be sent to the email address appearing in the 'Billing Contact Information' section of the client record found in Administration>Maintain Clients.
Note that Bulk Customer Invoicing is not currently available for Quickbooks Online integration.
